Creating molds using alginate powder is a popular and versatile technique employed in various fields, including art, dentistry, and special effects. Alginate, derived from brown seaweed, is an excellent molding material due to its ability to capture intricate details and its skin-safe properties. In this article, we will provide you with a comprehensive and step-by-step guide on how to create perfect molds using alginate powder.
Understanding Alginate Powder
Before diving into the molding process, it’s essential to understand what alginate is and why it’s favored by many artists and professionals.
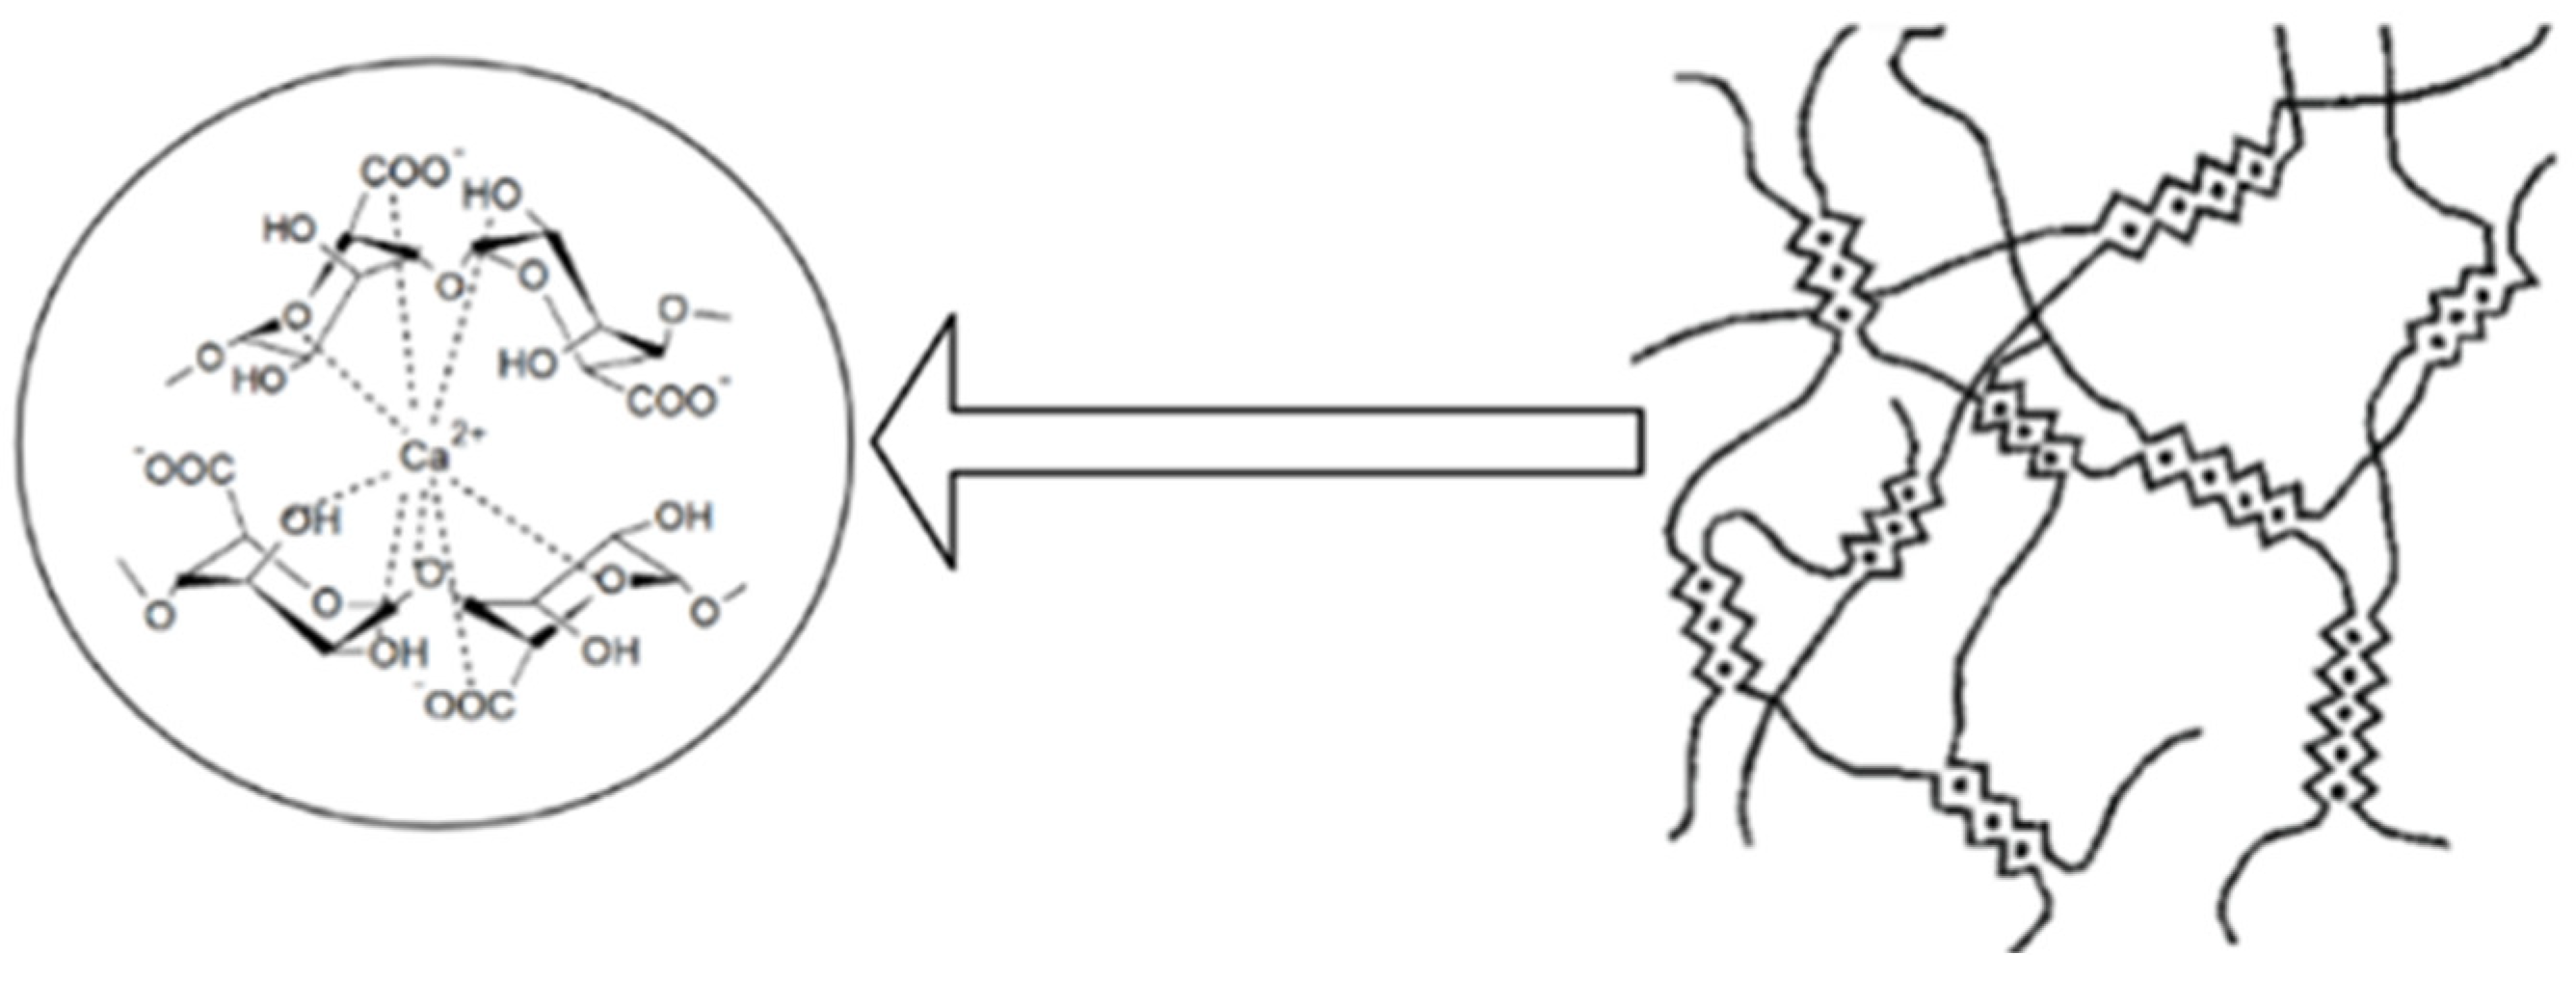
- Origin: Alginate is a natural polysaccharide extracted from brown seaweed.
- Properties: It is non-toxic, biodegradable, and safe for skin contact, making it ideal for life casting.
- Set Time: Alginate sets quickly, usually within 5 to 10 minutes, which requires a fast and efficient workflow.
- Flexibility: Once set, alginate molds are flexible, allowing for easy removal of cast objects without damaging details.
Materials Needed
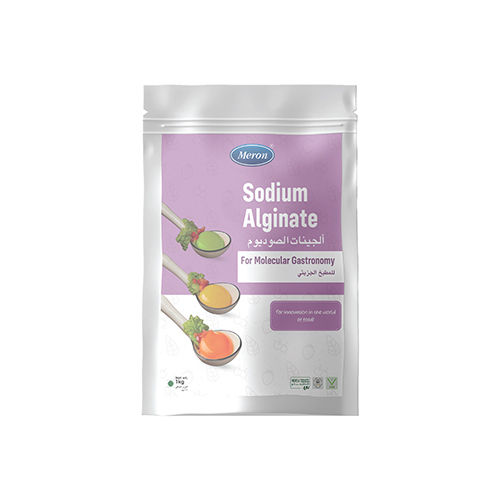
To create a mold with alginate, you’ll need the following materials:
- Alginate powder
- Mixing container (preferably plastic)
- Stirring tool (e.g., a stick or spatula)
- Water (room temperature)
- Object to mold (e.g., a hand, foot, or an item)
- Vaseline or release agent (optional, for easier removal)
- Plaster or casting material (for making the final cast)
Step-by-Step Process to Create a Mold
Step 1: Prepare Your Workspace
Creating molds can be messy, so it’s essential to prepare your workspace. Follow these tips:
- Cover surfaces with protective material (e.g., plastic sheets or newspapers).
- Gather all your materials within reach.
- Ensure proper ventilation if you are working with plaster or other casting materials.
Step 2: Measure the Alginate
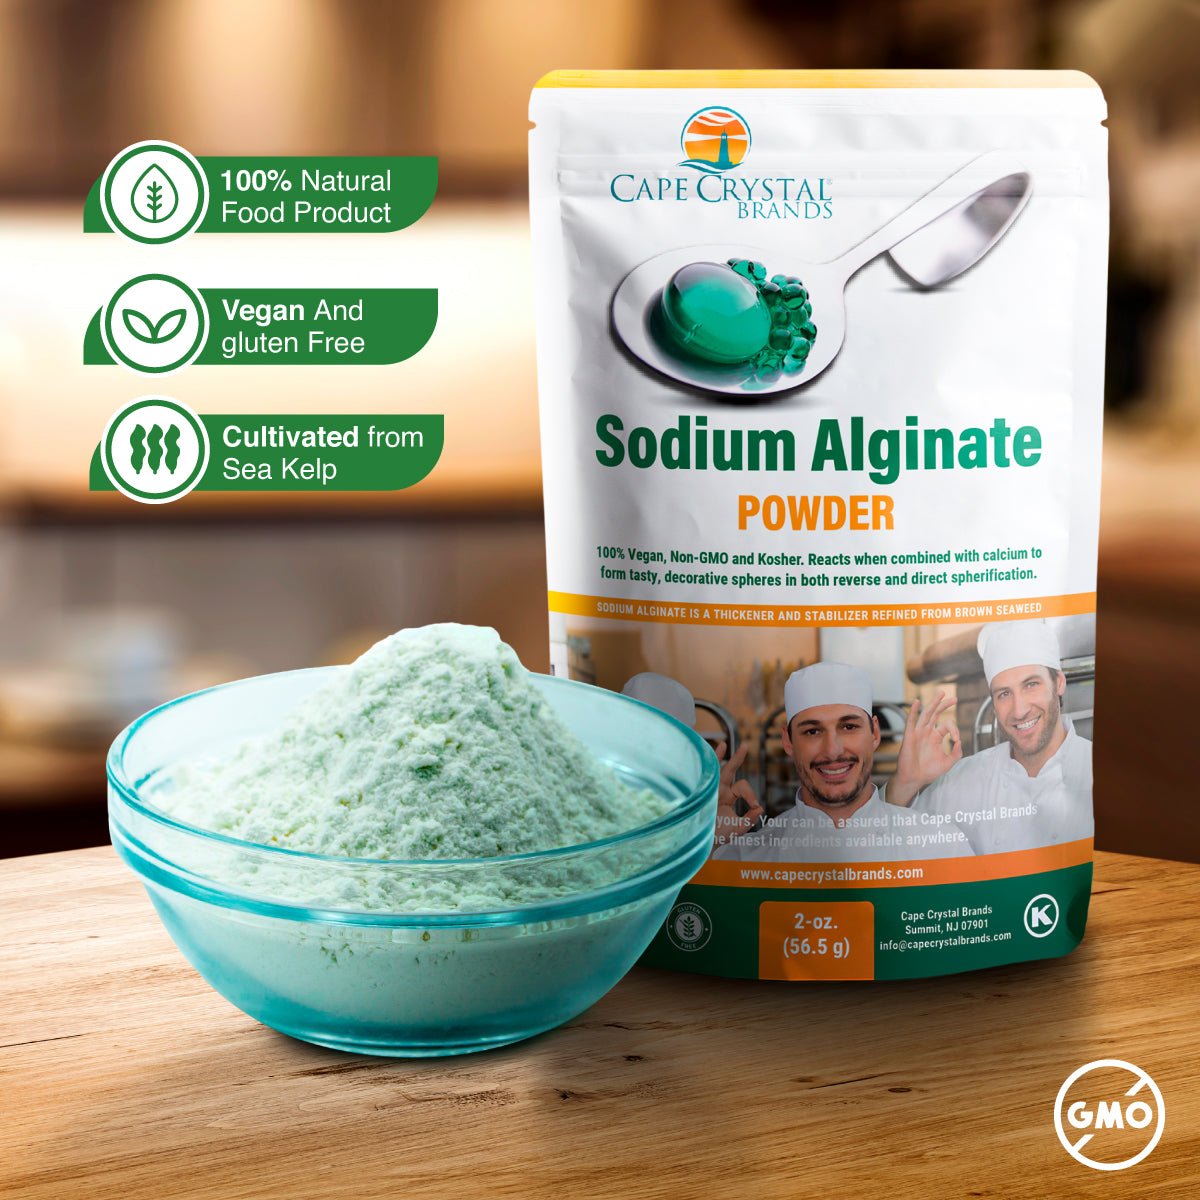
The amount of alginate powder you’ll need depends on the size of the object you are molding. A general rule of thumb is:
- For small items (e.g., a hand), use about 1-2 cups of alginate powder.
- For larger items (e.g., a torso), up to 6 cups may be necessary.
Using a kitchen scale for precise measurements can yield better results.
Step 3: Mix the Alginate
Mixing alginate is crucial for achieving a smooth consistency. Follow these steps:
- In your mixing container, combine the measured alginate powder with an equal volume of room-temperature water.
- Stir the mixture vigorously with your stirring tool until fully combined, ensuring there are no lumps.
- The mixture should achieve a smooth, creamy texture without any dry powder remaining.
- Time is of the essence; aim to mix for no more than 1 minute before application.
Step 4: Apply the Alginate to the Object
Once mixed, it’s time to apply the alginate to your chosen object. Follow these guidelines:
- If molding a body part, consider applying a thin layer of Vaseline or a release agent to prevent the alginate from sticking to the skin.
- Pour or scoop the alginate mixture onto the object, ensuring that it covers the surface evenly.
- For intricate details, gently press the alginate against the object to capture fine details.
- Keep your hand or object still until the alginate sets, which typically takes between 5 and 10 minutes.
Step 5: Remove the Mold

Once the alginate has set, carefully remove it from the object:
- Gently peel the alginate away from the edges and towards the center to avoid tearing.
- If molding a body part, flex your hand or foot slightly to help release it from the mold.
- Inspect the mold for any flaws or bubbles; if there are imperfections, you may need to re-cast.
Step 6: Reinforce the Mold

Alginate molds can be fragile, so reinforcing them is often necessary, especially for larger molds. Here’s how:
- Prepare a plaster bandage or a similar reinforcing material.
- Apply the plaster bandages over the alginate mold, covering it thoroughly while it is still damp.
- Allow the plaster to set completely, which may take another 15-30 minutes.
- Once set, carefully separate the alginate from the plaster shell. You can now use the plaster shell to create your final casting.
Tips for Perfect Molding with Alginate
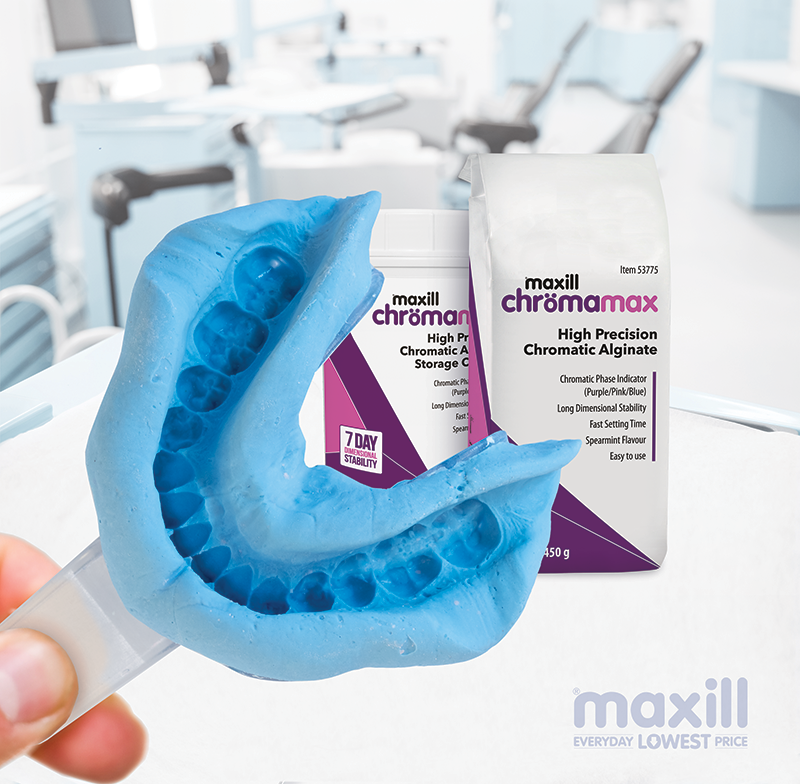
To achieve the best results, consider the following tips:
- Temperature Matters: Warm water can accelerate the setting time, while cold water can extend it.
- Work Quickly: Alginate sets fast; hence, ensure you have all materials prepared before mixing.
- Practice Makes Perfect: If you’re new to molding, practice with less intricate objects to build your skills.
Common Applications of Alginate Molds
Alginate molds have a wide range of applications across various fields. Here are some common uses:
- Life Casting: Artists create lifelike sculptures of body parts.
- Dental Impressions: Dentists use alginate to create impressions of patients’ teeth.
- Special Effects: The film industry utilizes alginate for creating prosthetics and masks.
Creating perfect molds with alginate powder is a rewarding process that captures intricate details and allows for diverse applications. By following this step-by-step guide, you can master the art of molding and explore its many uses in your projects. Remember, practice is key, and experimenting with different techniques will enhance your skills and the quality of your molds. Whether for artistic endeavors, dental applications, or special effects, alginate molds offer endless possibilities for creativity and innovation.